Microsoft SQL Server Integration Services (SSIS) is a component of Microsoft SQL Server database software that can be used to perform a broad range of data migration tasks. To install,
- Go to your browser (eg chrome) and google SSMS (SQL Server management Studio)
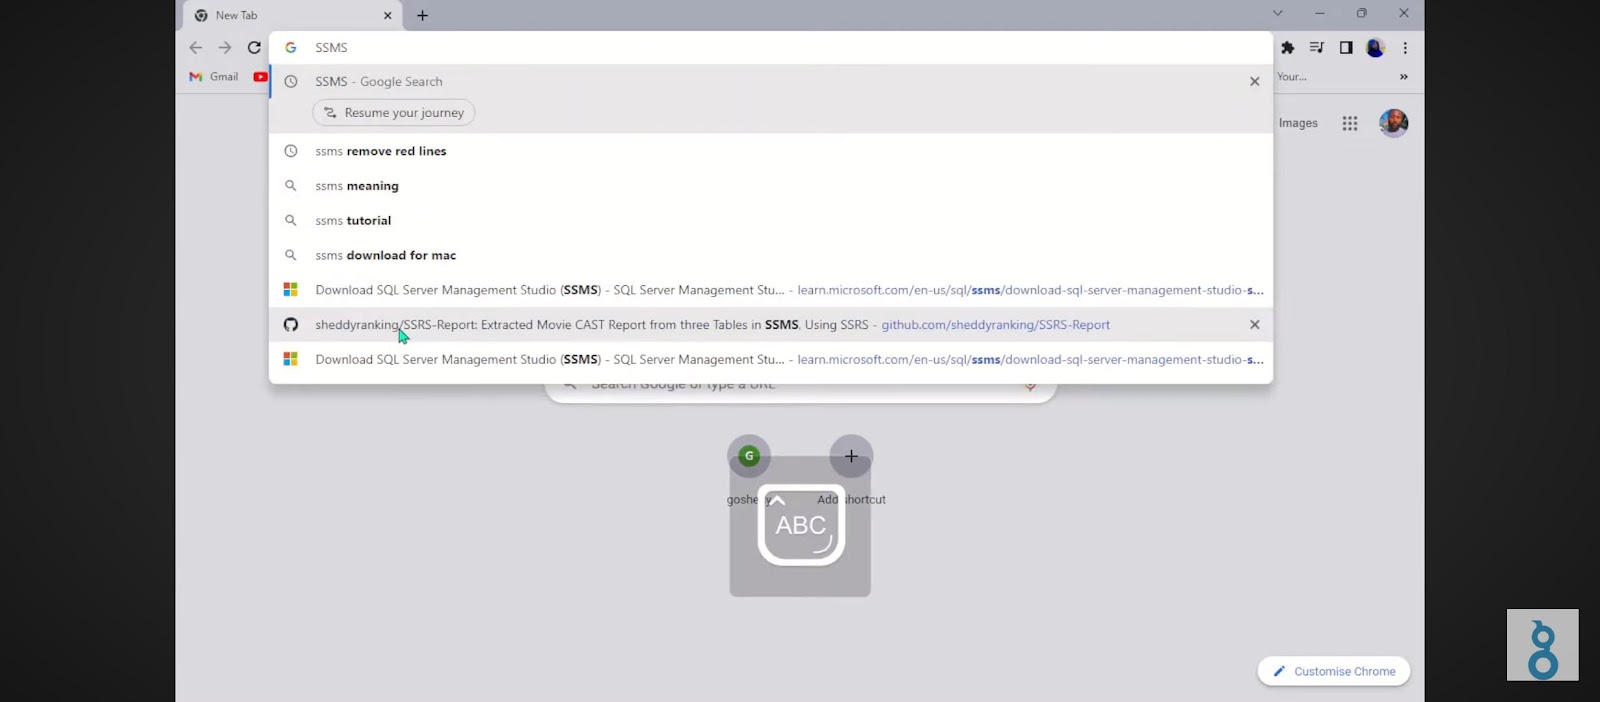
- Click on the first link that comes out
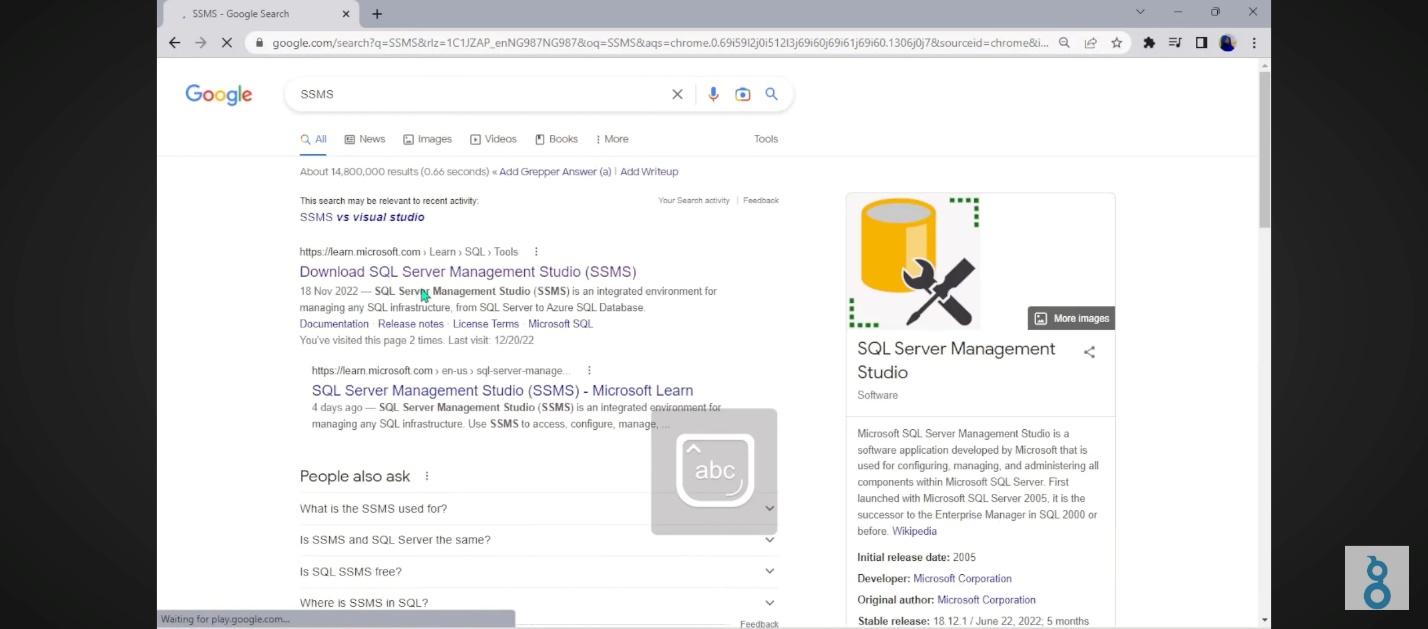
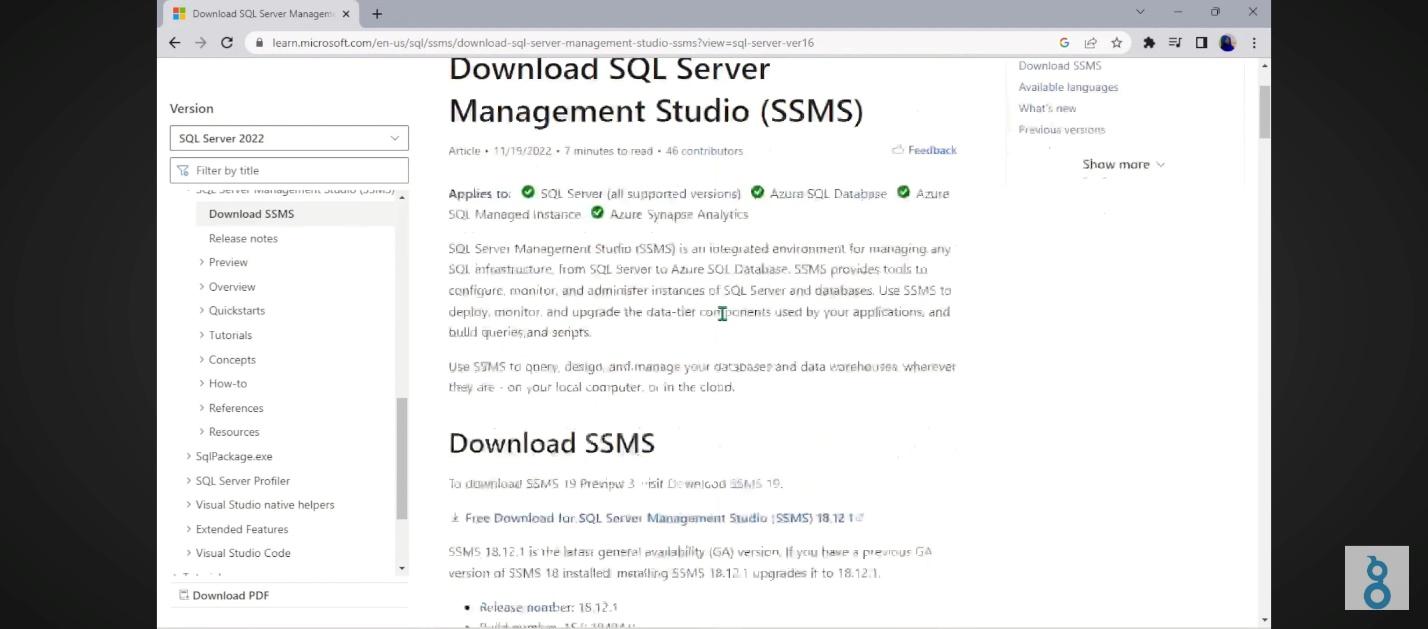
- Open and download it.
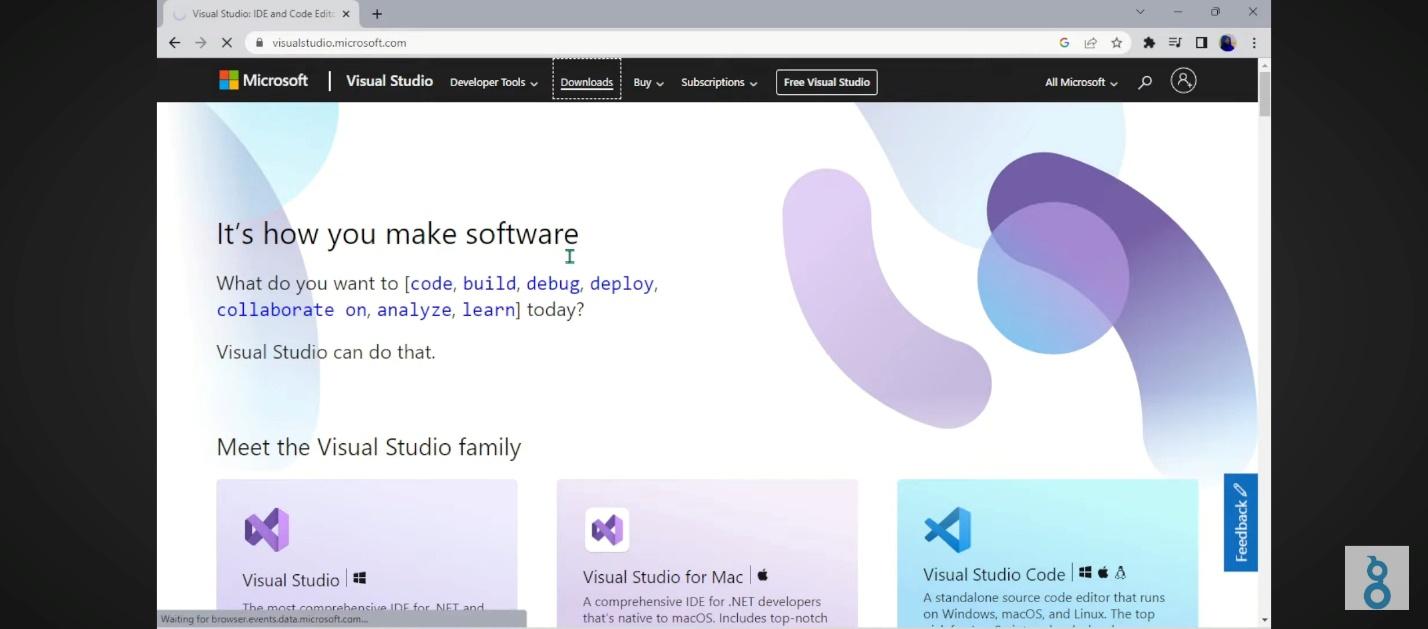
- Add a tab and search for visual studio, open the first link.
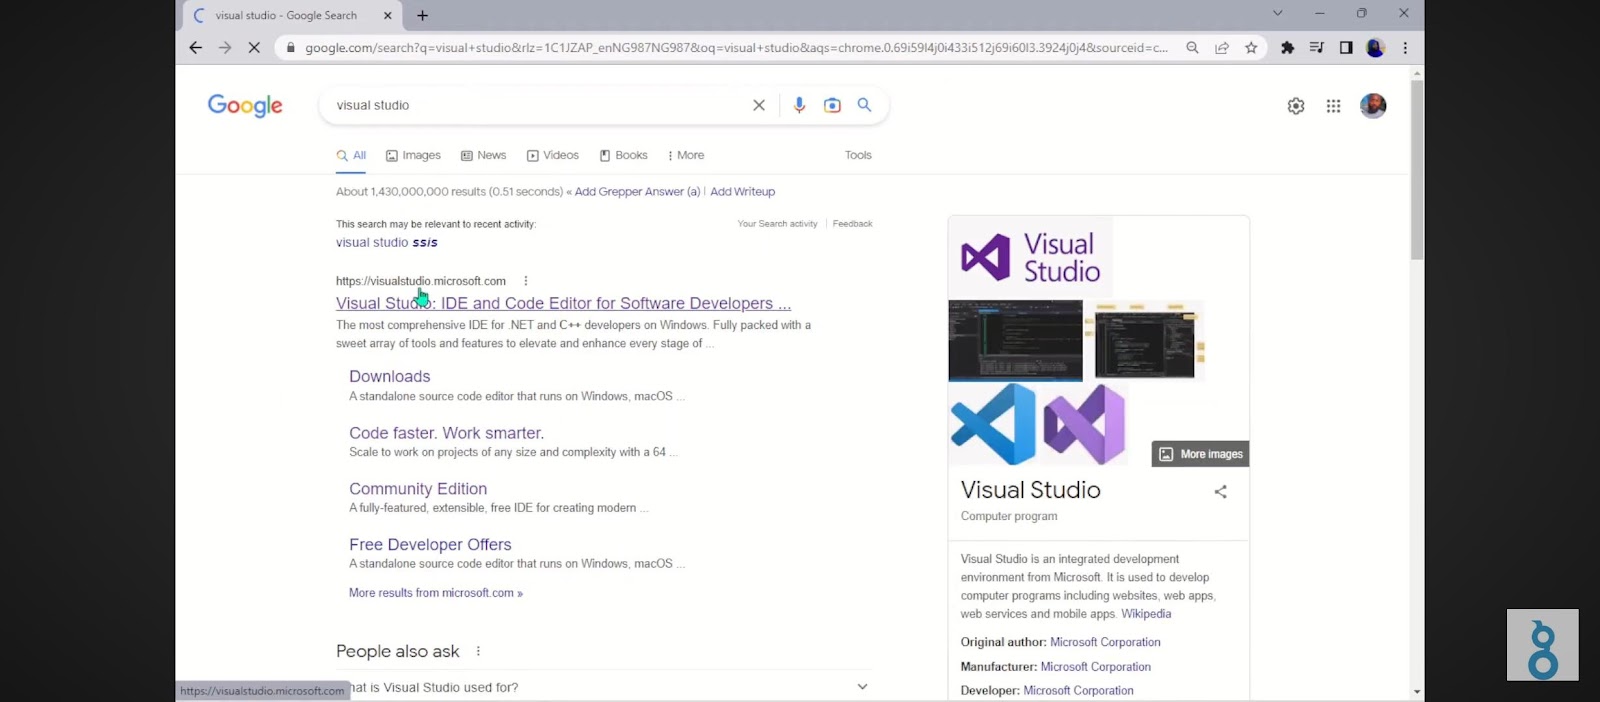
- Go to downloads and click free download.
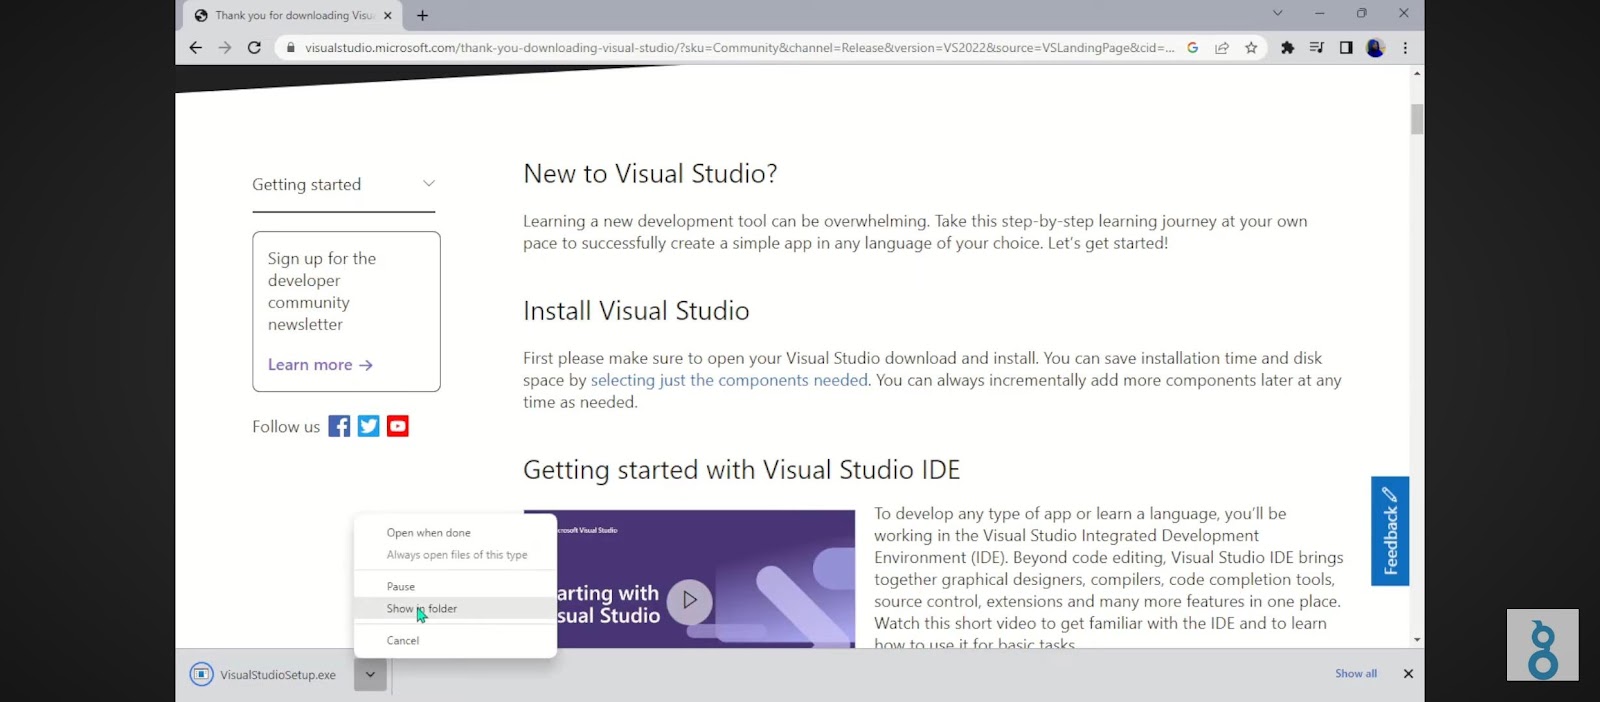
- Once its downloaded, right click on the pop up menu indicating downloaded and select show in folder. This is the visual studio installer.
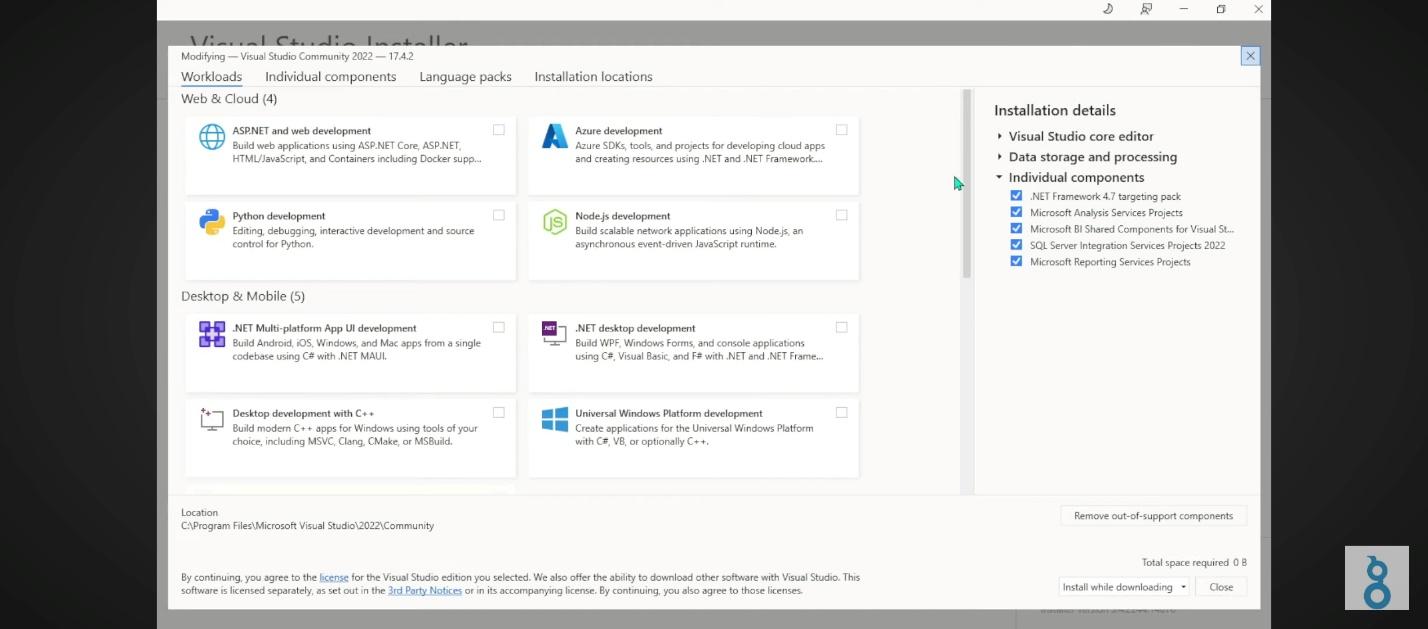
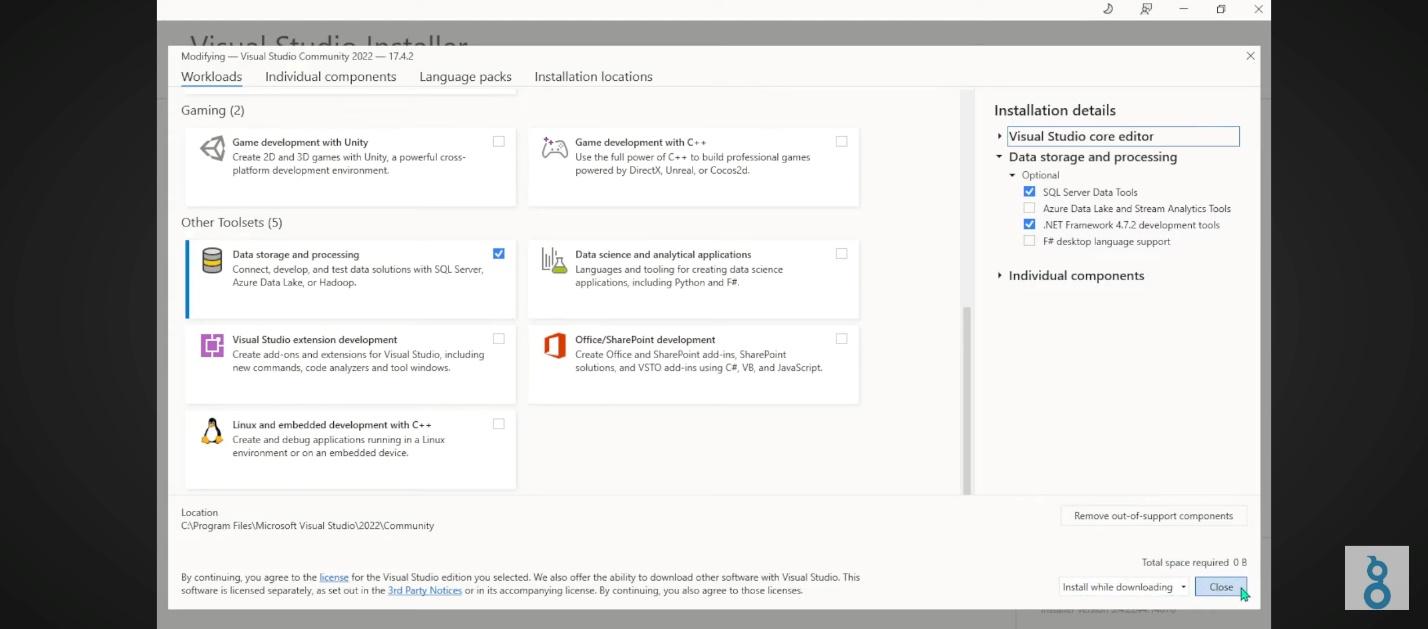
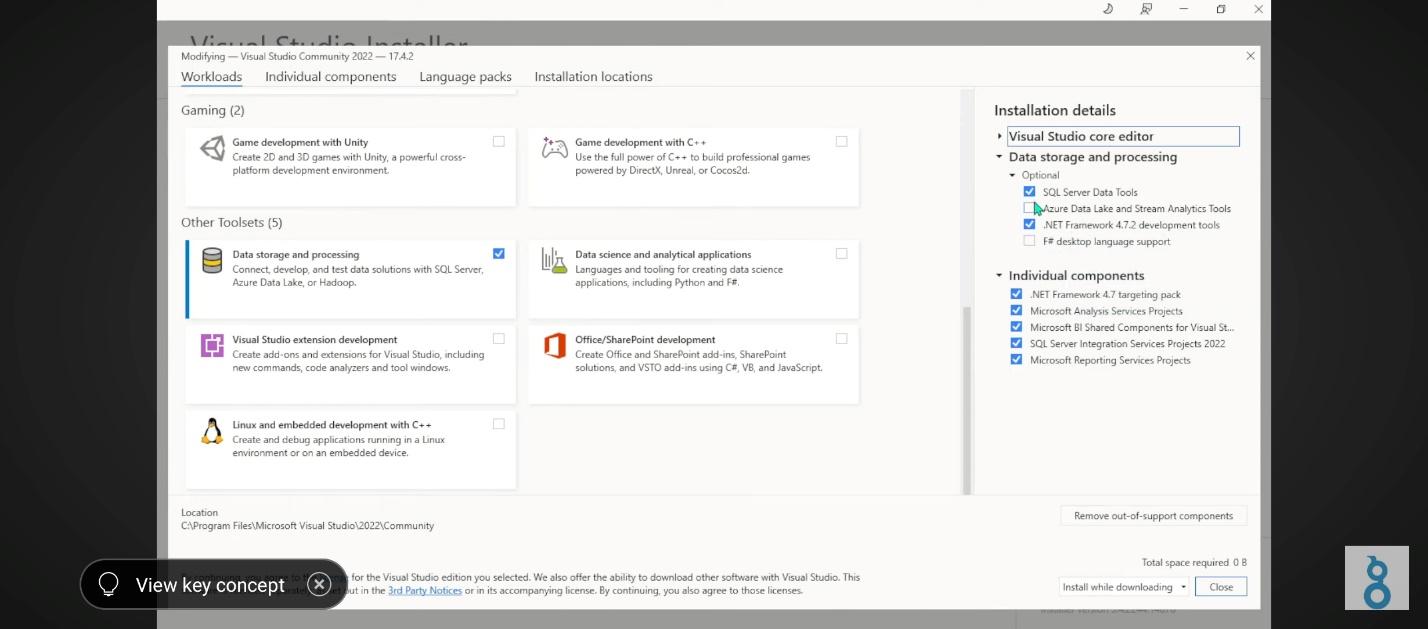
- Open the installed visual studio installer, navigate through and tick data storage and processing.
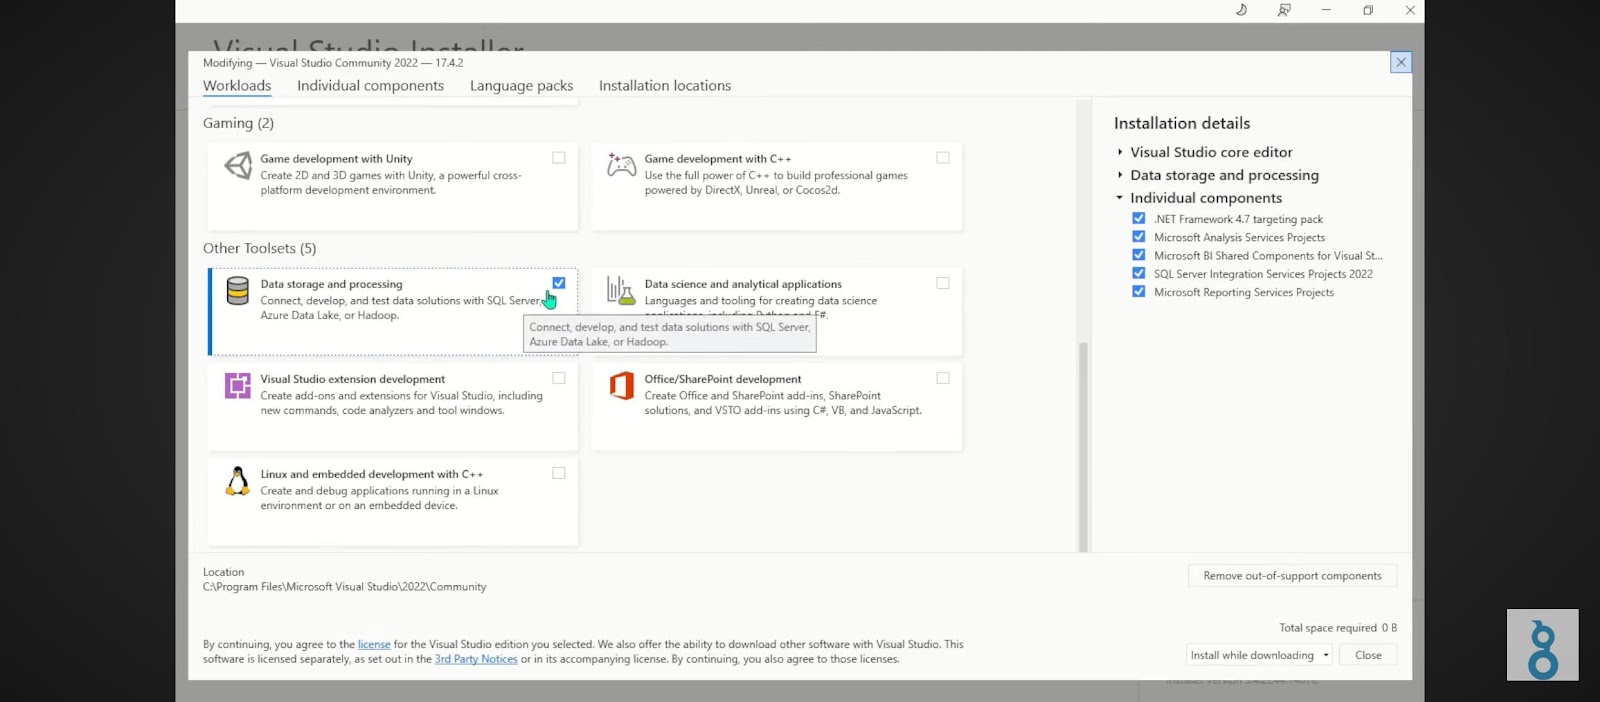
- By the right hand bar under data storage and processing, go ahead and tick SQL server data tools and net framework 7.2 development tools.
- Under, you can either install while downloading or install (Close)
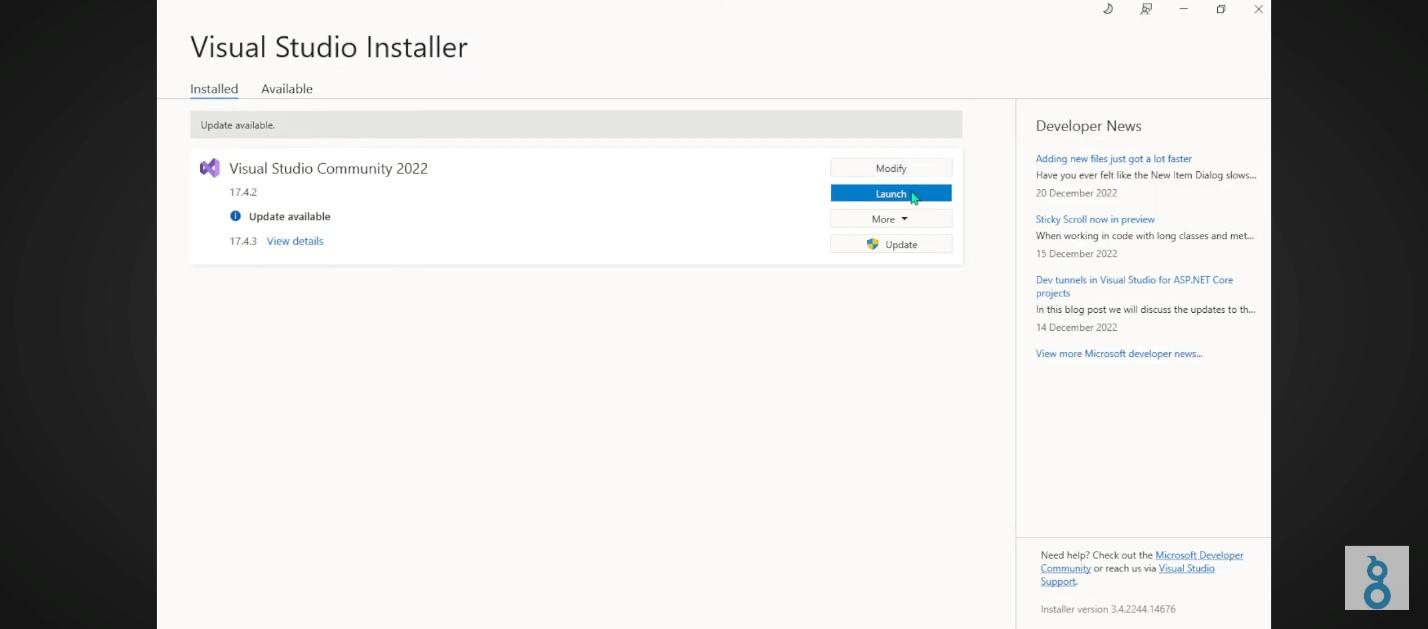
- You can install this through your visual studio installer.
- Once you’ve done that, you will launch it.
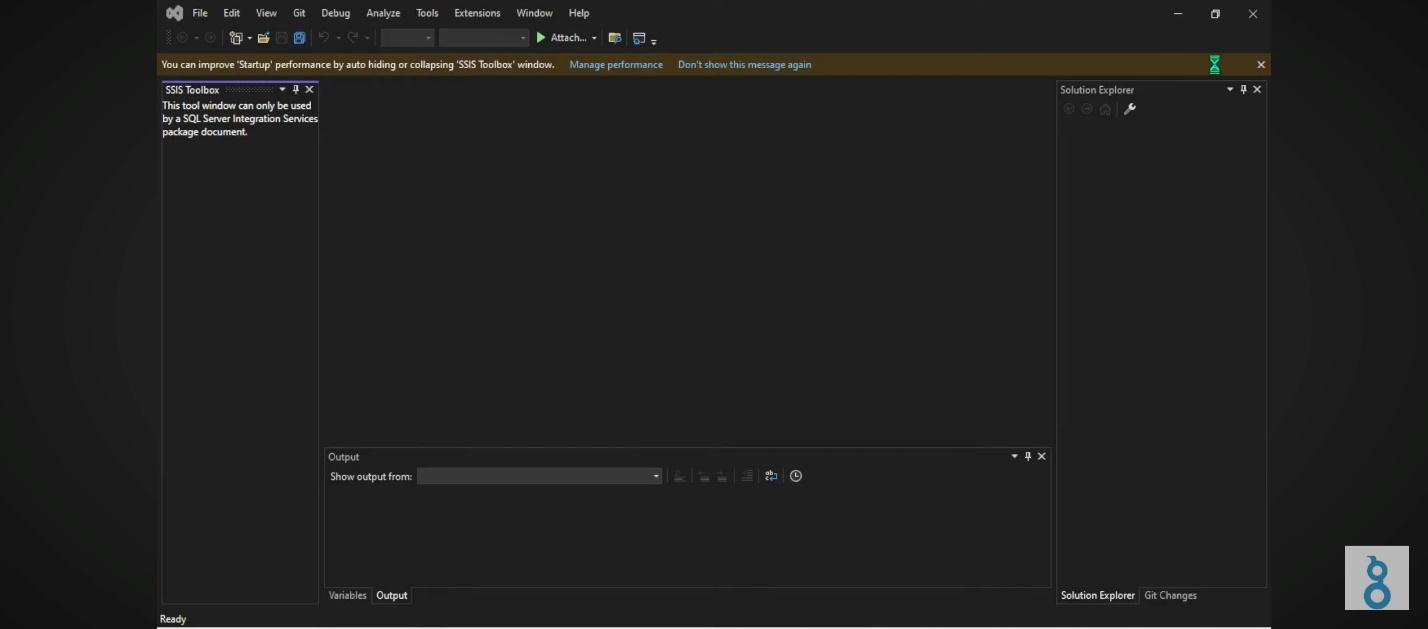
- After launch, wait for it to open and click continue without code.
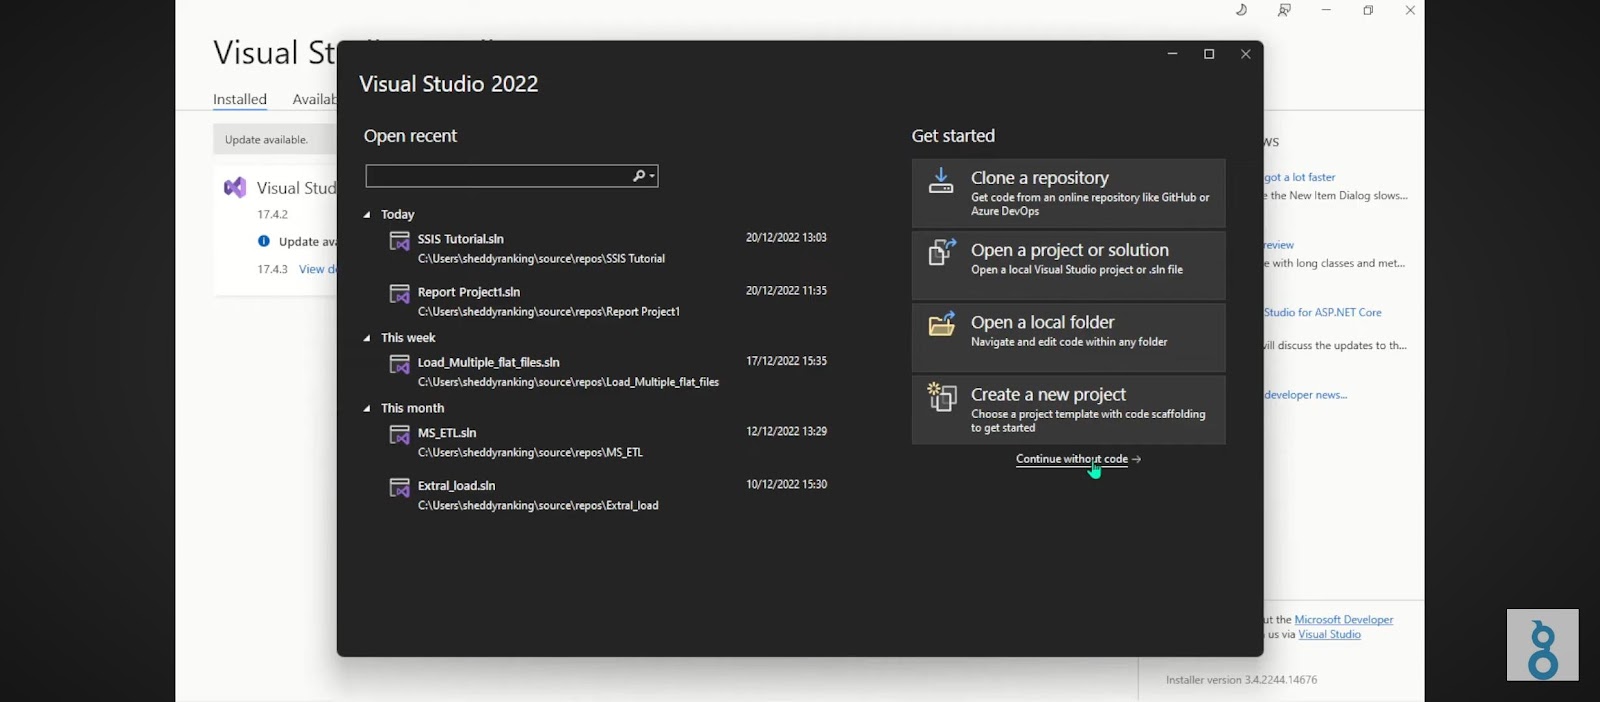
- It will load and open the environment.
- When you open your visual studio installer, go to extensions
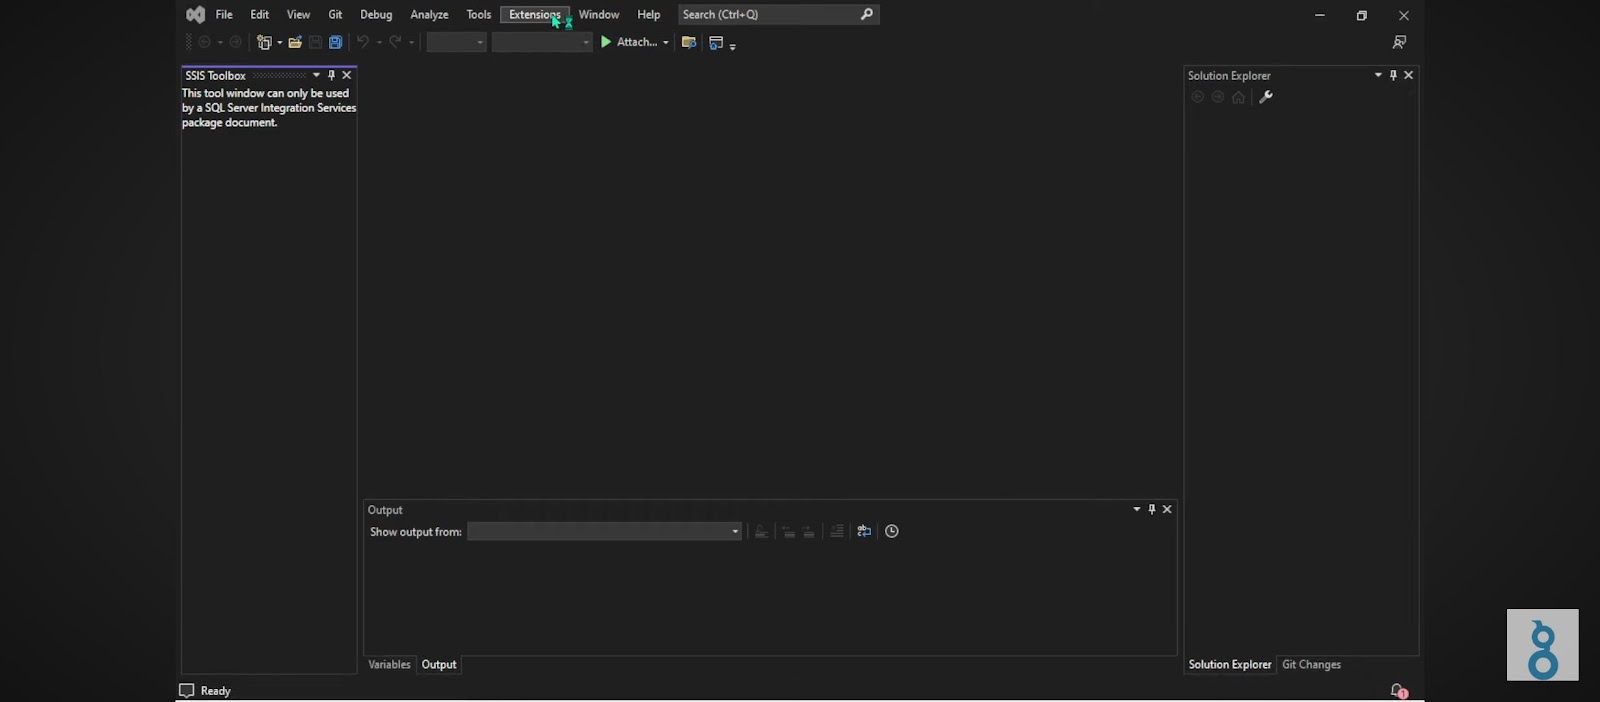
- Click on manage extensions

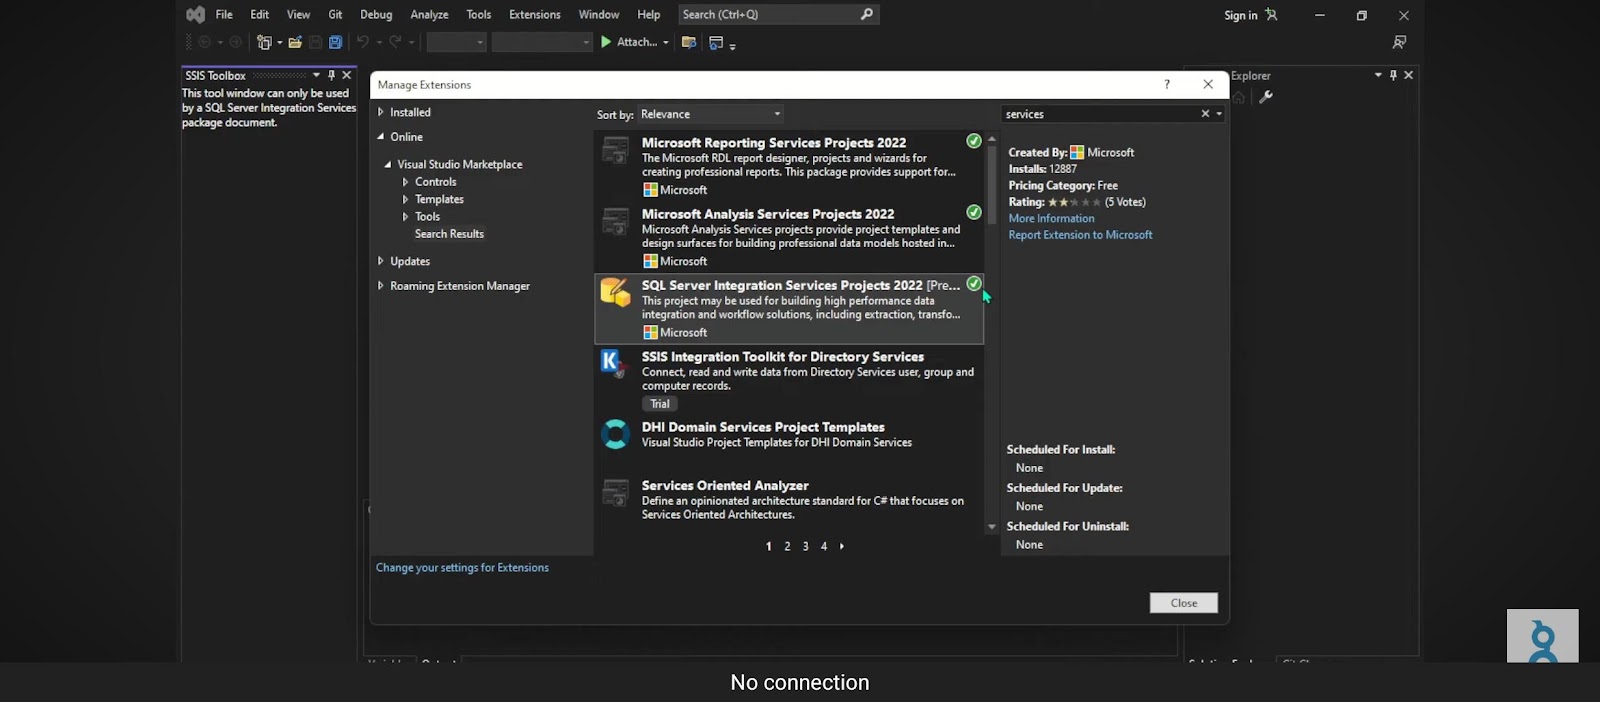
- In the pop up menu, search for services, you will see different services, we have SQL Integration Services, Microsoft Analysis services etc but for the purpose of this class, click on have SQL Integration Services to download and install.
NB: Remember to close every tab/window regarding SQL Server.
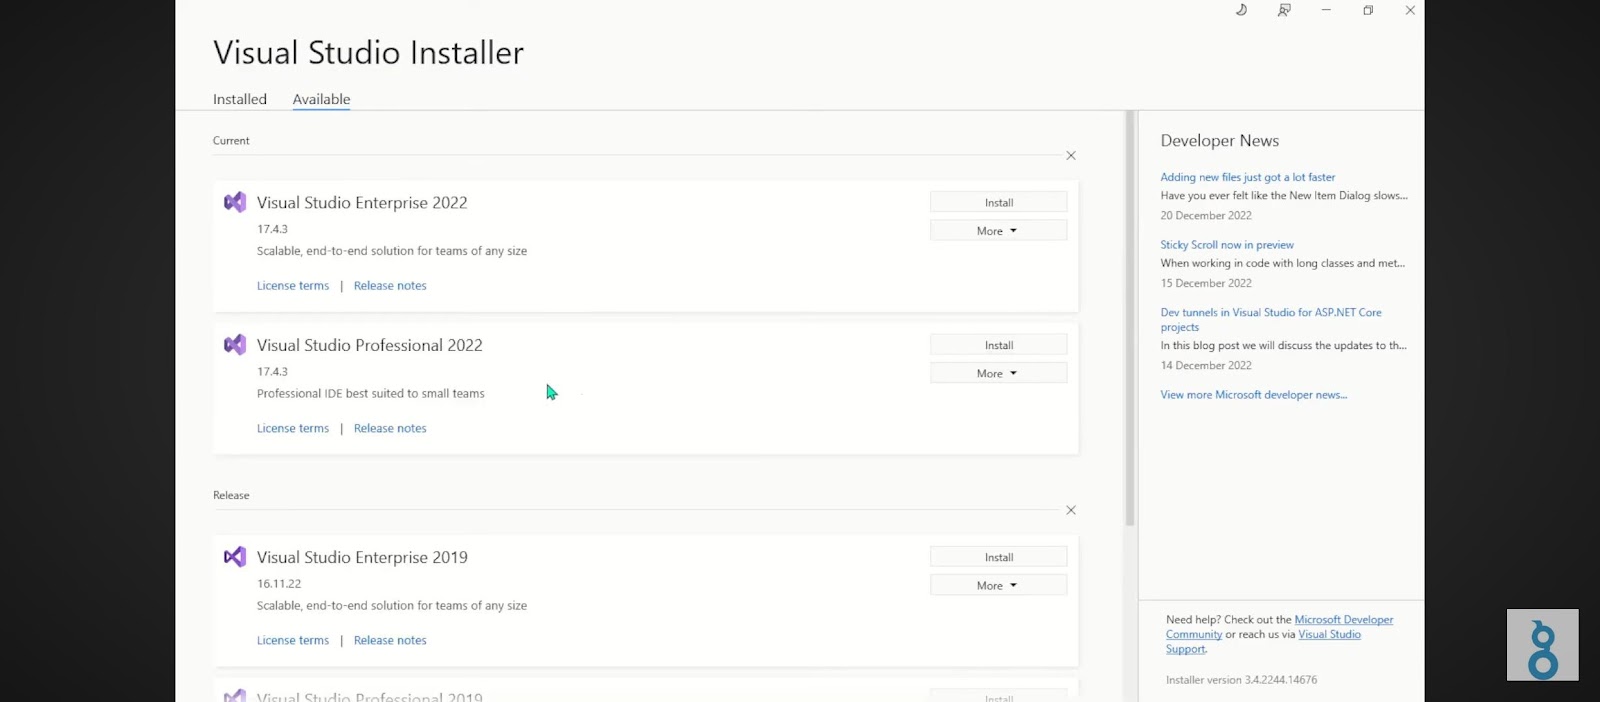
- Open the visual studio installer and check under available. If you already have other communities, you will have to uninstall them.
- To confirm if it is installed, go to the manage extension on the left hand side.
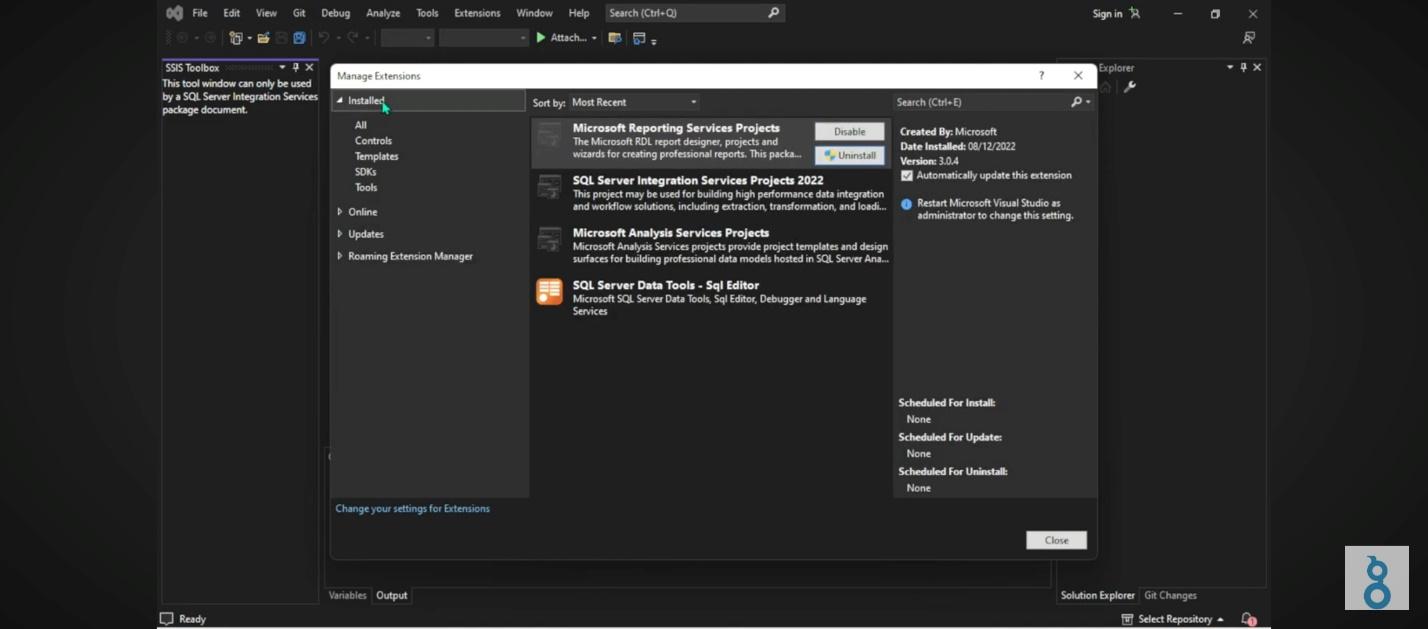
- Click on installed
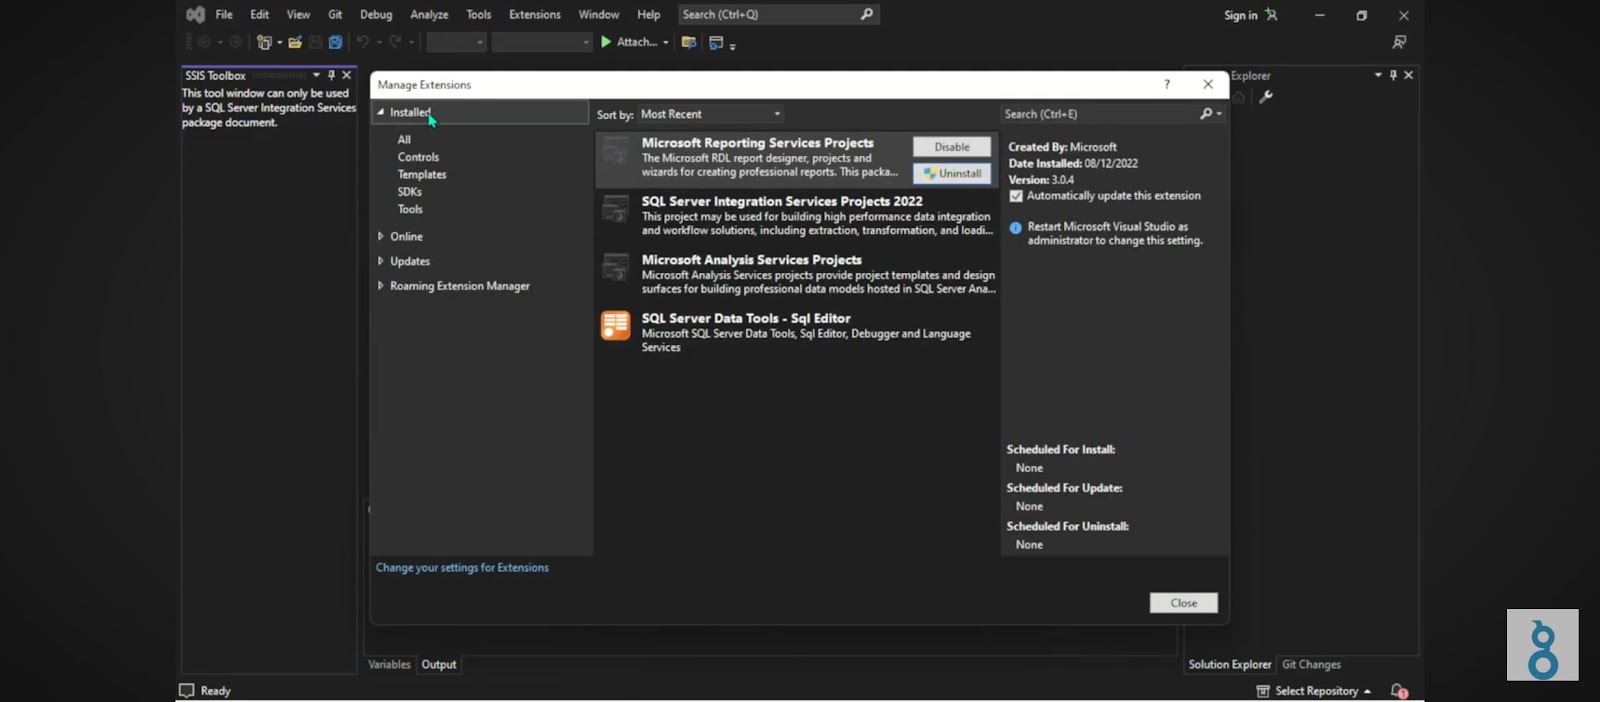
- You can see all the installed services.

Leave a Reply